Adding Pictures and/or Clip Art
Let's start with adding Clip Art. To do this, first click the slide that you want to add clip art.
On the Insert tab, in the Images group, click Clip Art.
Microsoft has a HUGE collection of clip art that you may use without risk of copyright violation. To search for clip art click on the Clip Art task pane and in the Search for text box, type a word or phrase that describes the clip art that you want, or type all or some of the file name of the clip art (see the image below, in this example I typed in "pen").
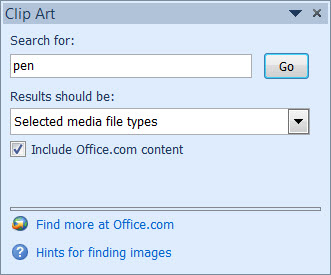
To narrow your search, in the "Results should be:" list, select the check boxes next to Illustrations, Photographs, Videos, and Audio to search those media types. Then click Go.
In the list of results, click the clip art to insert it.
To insert clip art into the notes pages of your presentation, switch to Notes Page view, and then do the steps above.
Adding Pictures
Scanner/Camera: To insert a picture from your scanner or camera, use the scanner or camera software to transfer the picture to your computer. Save the picture, and then insert it by following the instructions below.
Click where you want to insert the picture. Next, on the Insert tab, in the Images group, click Picture as shown in Image Three.
Locate the picture that you want to insert, and then double-click it.
To add multiple pictures, press and hold CTRL while you click the pictures that you want to insert, and then click Insert.
To resize a picture, select the picture you have inserted in the slide. To increase or decrease the size in one or more directions, drag a sizing handle away from or toward the center.
Adding pictures can increase the file size of your presentation which can be a problem in an online classroom. You can control this file size by making choices about the resolution of a picture and the quality or compression of a picture. For more information, visit Microsoft's directions for reducing the file size of a picture.